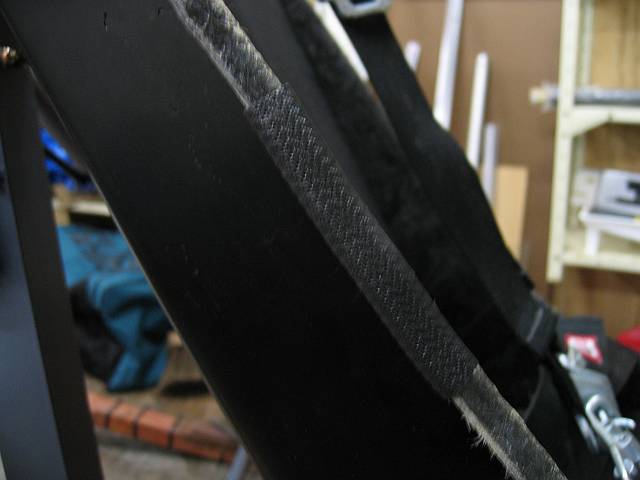
Cut and drilled the second stabiliser strut, and bevelled the ends of both struts to clear the ends of the bolts in the brackets.
Drilled both stabilisers to take the strut brackets. The tail is pretty much on the aircraft.
 An ill-conceived attempt last night to fill the elongated bolt holes with epoxy, involving a bolt wrapped in packing tape.
Fortunately this morning the stuff still hadn't set (too cold) so I was able to remove the bolt from the hole before it became irretrievably stuck.
An ill-conceived attempt last night to fill the elongated bolt holes with epoxy, involving a bolt wrapped in packing tape.
Fortunately this morning the stuff still hadn't set (too cold) so I was able to remove the bolt from the hole before it became irretrievably stuck.
This evening I've attacked the thing with some two-part epoxy putty.
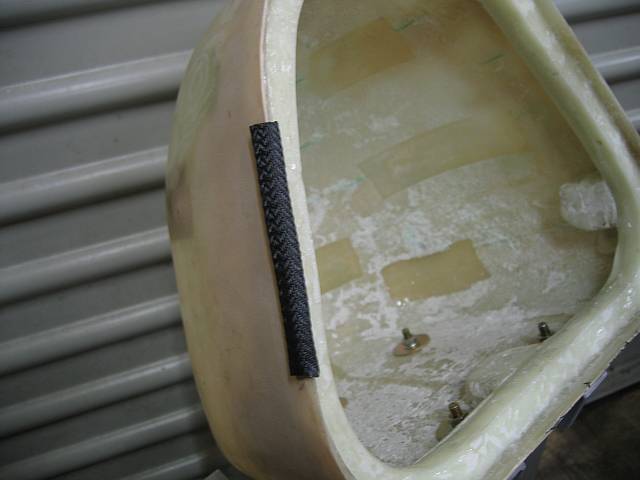
More interestingly - for some time I've been pursuing (somewhat lethargically) the mysterious, unknown product used to tidy up fibreglass edges. A big shout-out to Jorge Fonseca who ran the stuff to earth at Para Rubber and collected some samples for me. This stuff is da bomb :)
Collected the remainder of the bolts needed to attach the tail, including the hardware needed to mount the (so far nonexistent) trim tab and control horns.
Purchased the edge strip required for the seat and the instrument pod. Too shagged to do much else though, despite it being a weekend.
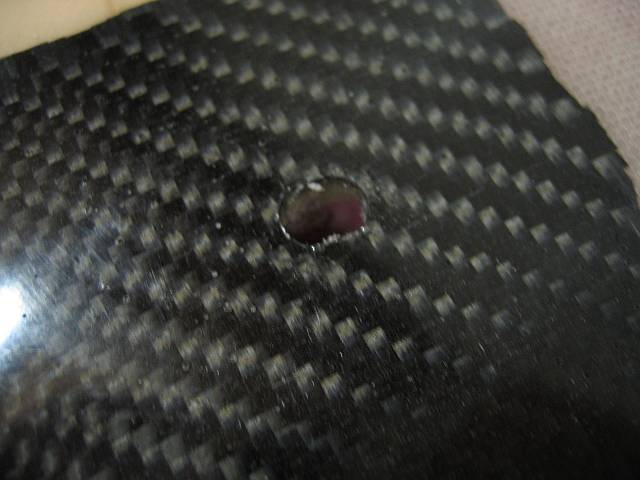
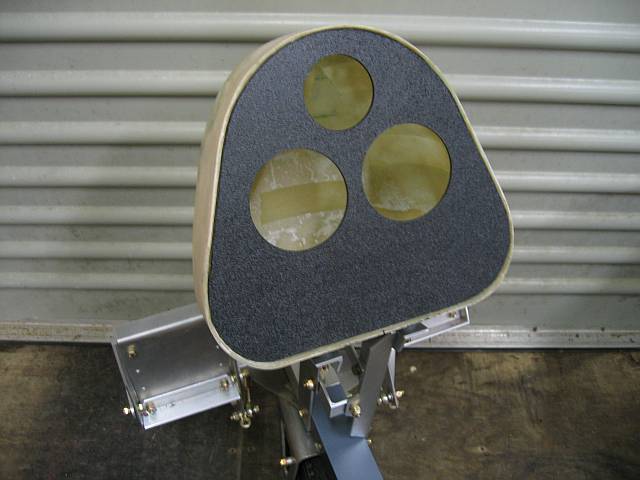
Started on the instrument panel today. The single test hole I cut produced mixed results. While I'm extremely happy with the overall effect of the crinkle-finished ABS, the edge left by the hole cutter leaves a lot to be desired. If I can't find a way of cleaning this up nicely, I may get the thing professionally CNC'd after all.
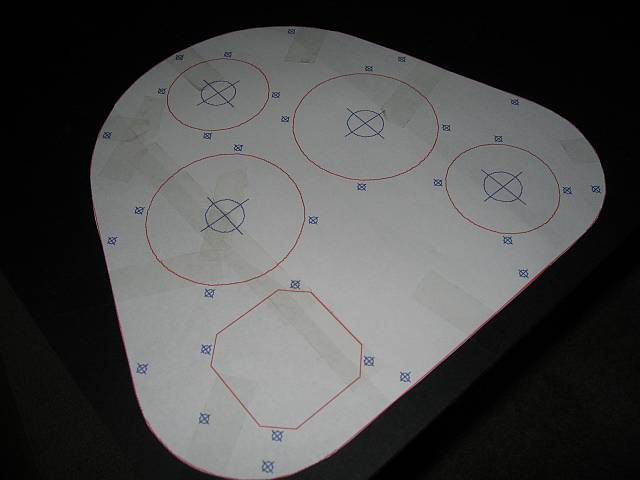
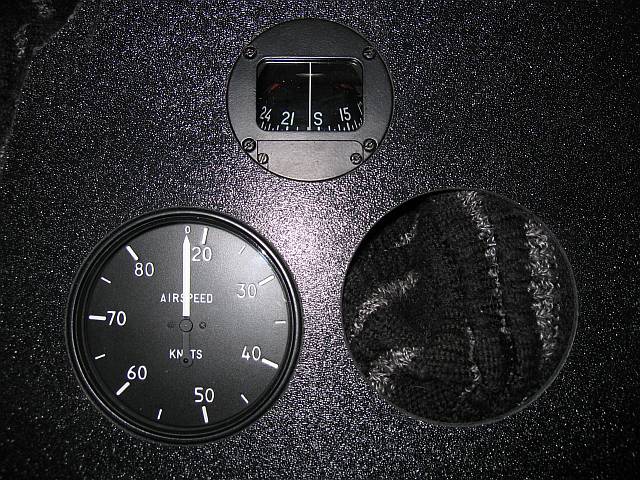
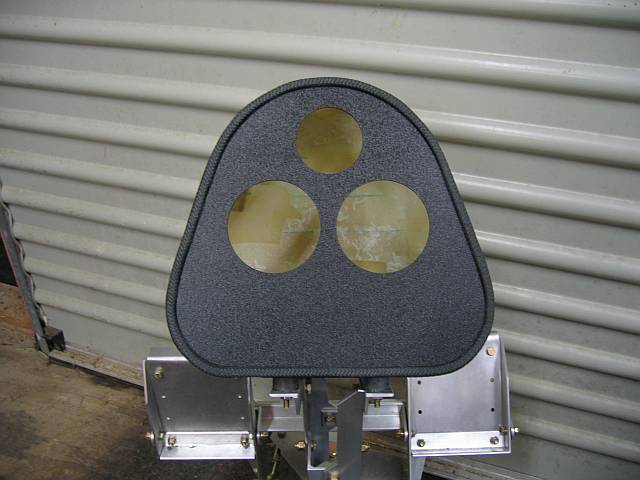
One step forward, two steps back. Cut three beautiful holes, only to discover one of them out-of-position by almost an eighth of an inch. Worse yet it seems the compass needs to be pretty much horizontal to work, but the pod's mounted at about 30 degrees. Am going to have to completely rethink that bit of the panel. Grrrgh.
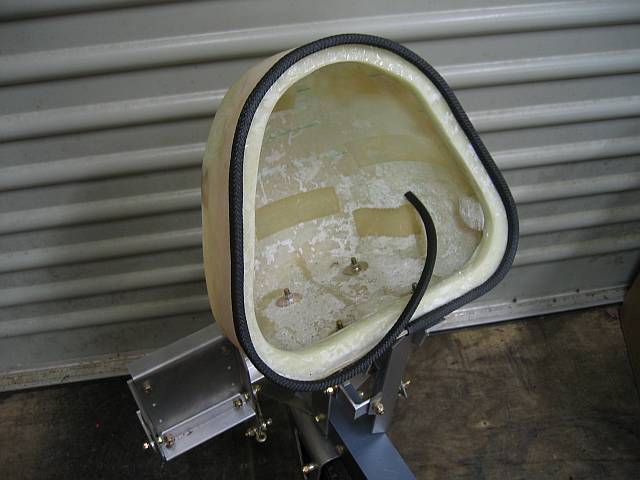
Decided to keep the existing panel and adjust the outline to match the holes. The two large holes needed enlarging to their final correct size, and during the sanding I was able to "walk" them to correct a slight residual misalignment with the cutout for the compass. This is going to be mounted in the original intended location, but with its lower edge set back from the panel. Will have to arrange some kind of baffle material to fill the gap.
Today was spent rough-cutting the panel outline to match the pod, and applying the edging strip. This will require another 3mm or so to be removed from the panel edge. Sand, test-fit, sand, test-fit, repeat...
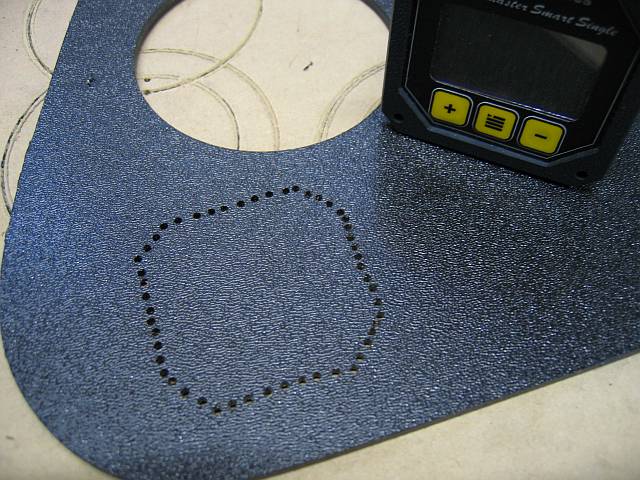
Finished trimming the panel down to size, and then cut the perversely octagonal hole for the EMS 503. File, test-fit, file, test-fit, repeat...
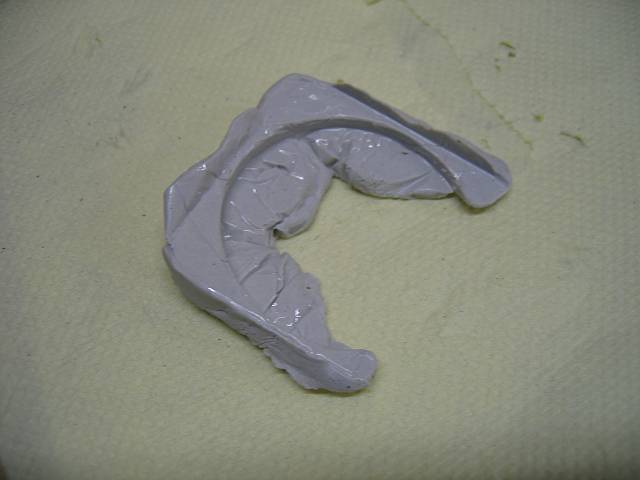
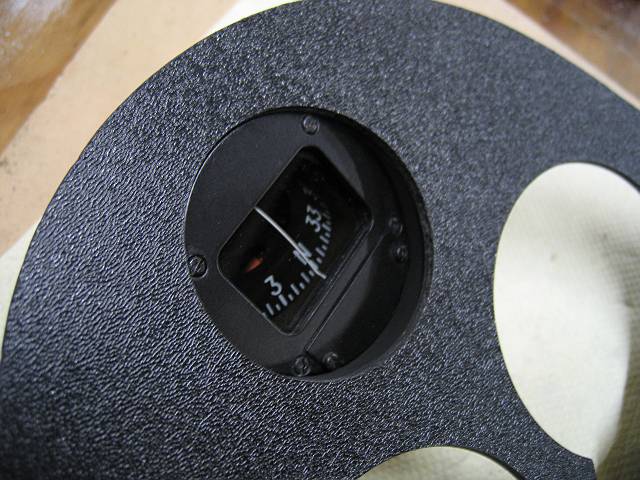
This evening I tackled the problem of how to elegantly inset the compass at an angle to the face of the panel. The solution is a custom-tailored mounting wedge created using a two-part epoxy putty, having first covered the panel and the compass in packing tape.
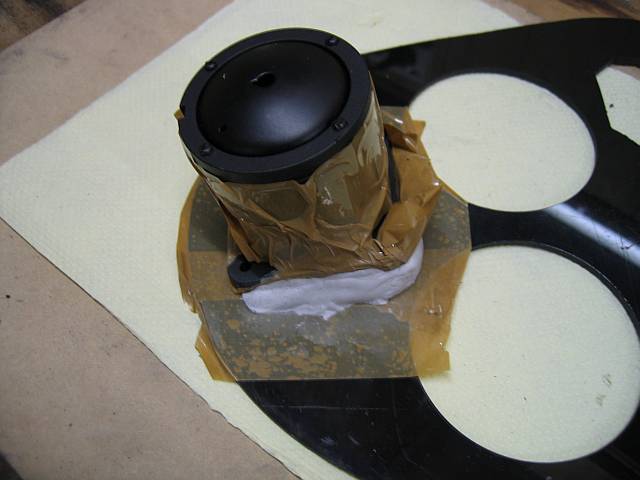
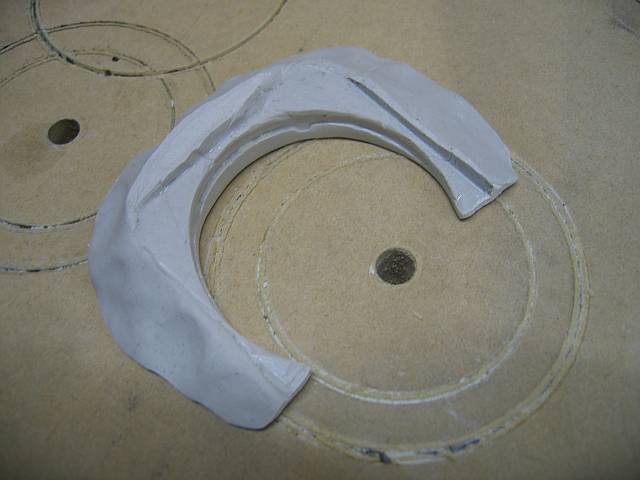
The stuff sets like stone. After adding more of the goo, and extensive machining (with more to come)... voila!
While typing up the entry above, I see the clocked has ticked over to midnight... which means this project is now 1 year old :)
...
This evening I finally tackled something I've been dreading ever since I laid eyes on the altimeter, namely the cutout for the QNH knob. It turned out to be a reasonably painless process using a rat-tailed file and a small grind wheel in the drill press. File, grind, test-fit, repeat...
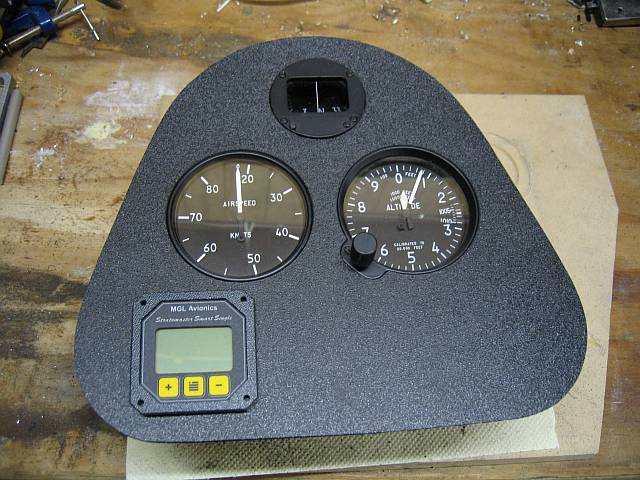
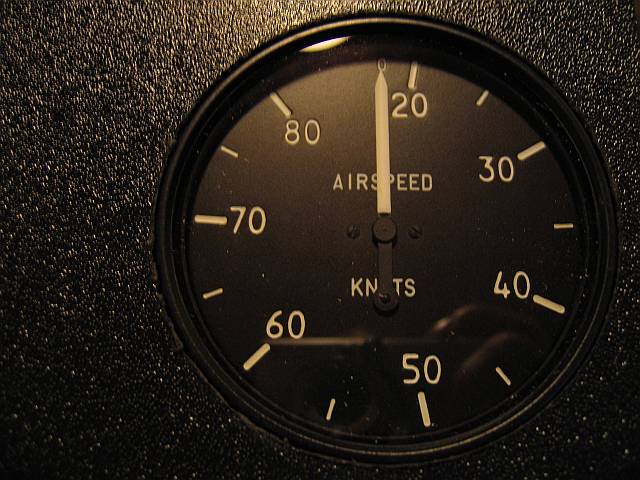
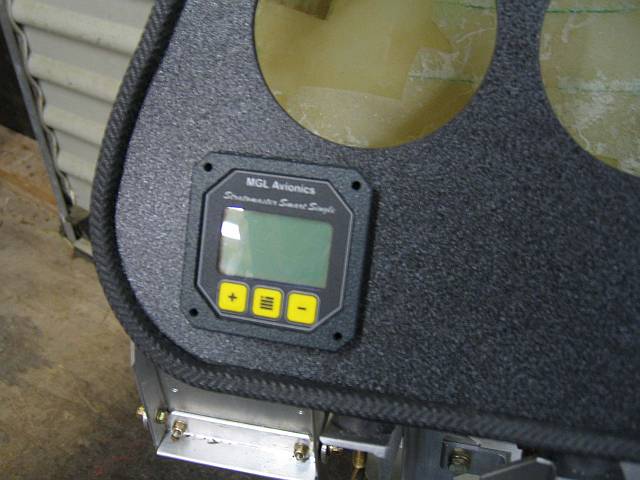
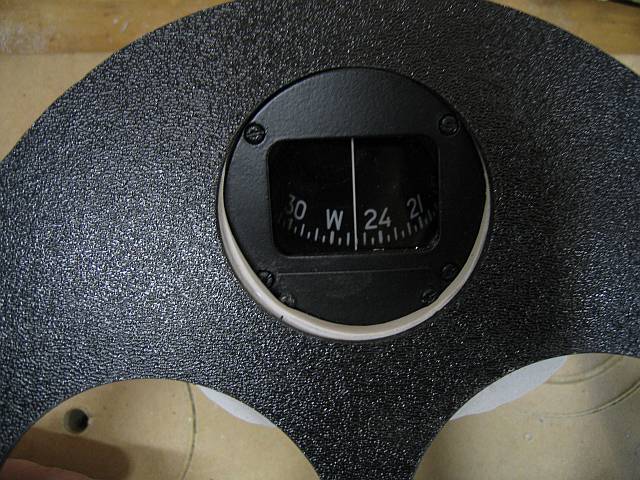
Couldn't resist bunging stuff in the panel for a photo :)
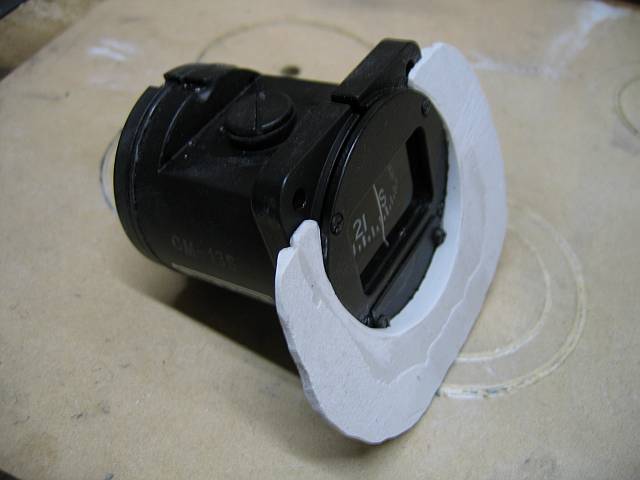
Bought another grind wheel on the way home, and finished shaping the compass mount before spraying it matt black.
Applied the black spray can to the inside lip of the instrument pod, which prevents anything showing through some of the micro gaps between the edge of the panel and the rubber edge strip.
Off on a short getaway till the 29th.