Acquired the 1/2" aluminium bar for the thick engine mount spacers, and the necessary bolts to attach the mount to the airframe.
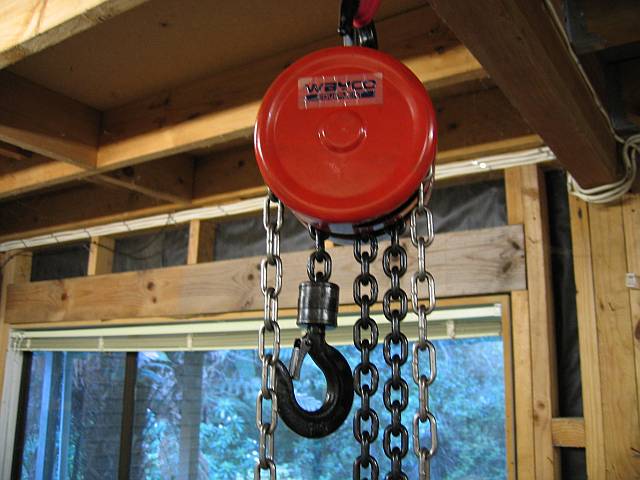
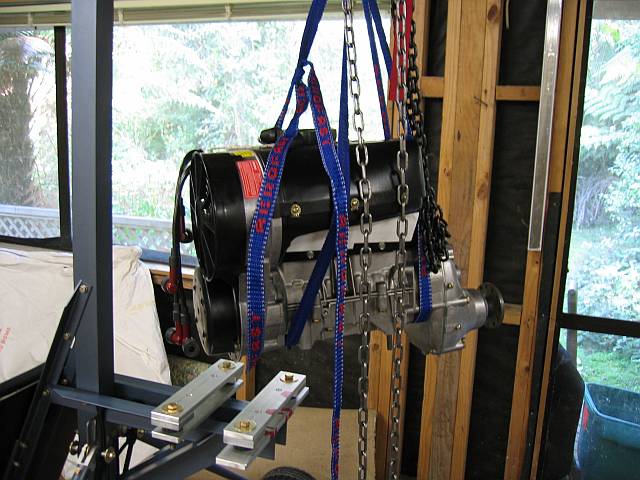
Installed the chain hoist, and cut the four 1/2" spacers. Decided to swap the spacers around, and locate the thicker material inside the mount to improve the bolt clearances.
![]()
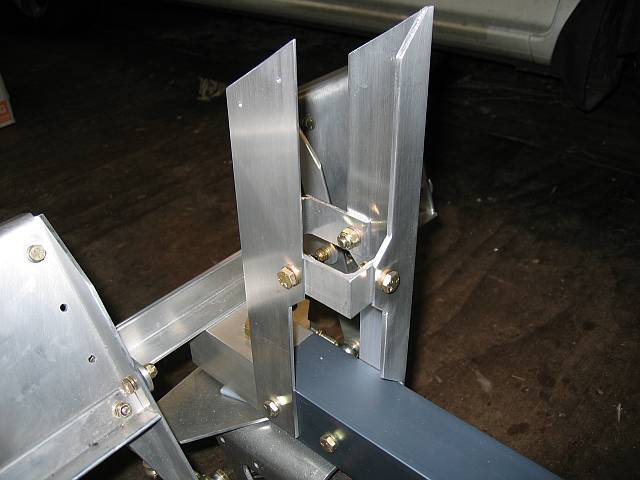
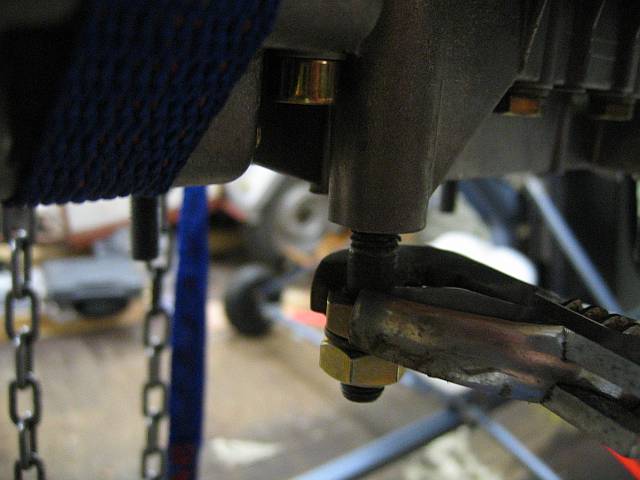
Positioned and bolted the engine mounts to the airframe bearers. This was a long complicated process - deriving a reference datum on the engine mounts from the existing holes; parking the mounts on the airframe, lowering the engine into place, clamping the mounts, followed by dissassembly and drilling. Then repeat...
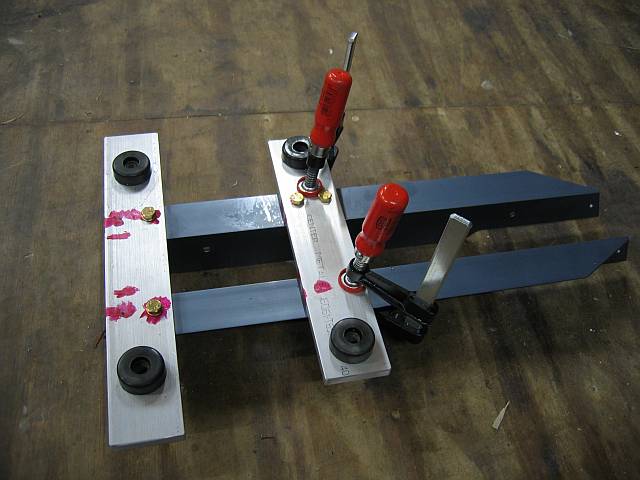
In the process I discovered that the thin spacers aren't needed at all.
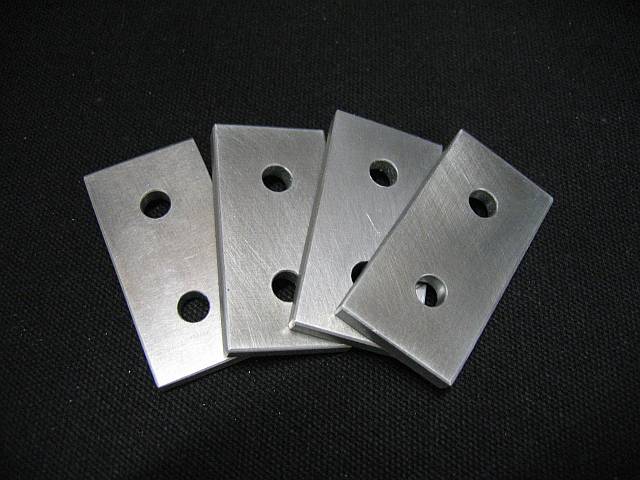
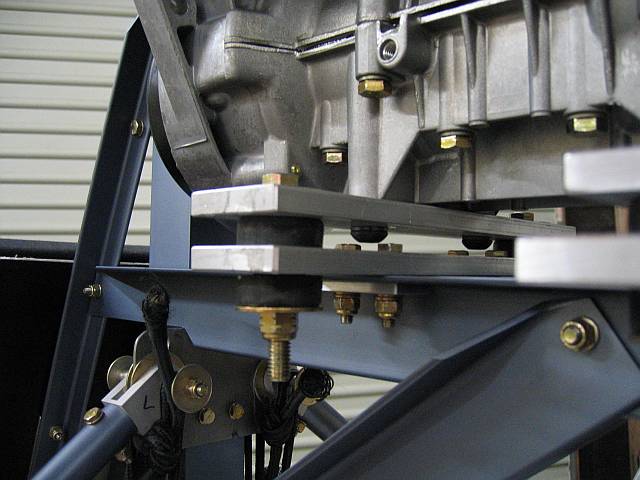
Still to be done - the remaining 1" x 2" x 3/16" reinforcing plates for the bearers.
Cut, filed and drilled the last three reinforcing plates, and mounted the engine.


Finally got round to assembling a shopping list of the various bolts which need to be swapped out for different sizes.
Shopping: Bolts, and after much driving in circles and getting extensively soaked in the rain on foot, a can of Loctite High Temperature Anti-Seize for use on the EGT probes and exhaust couplings. Went round the gyro and did the bolt-swap.
Lifted the engine off the aircraft, and unbolted one of the mounting studs from the crankcase to check length before purchasing replacement bolts.
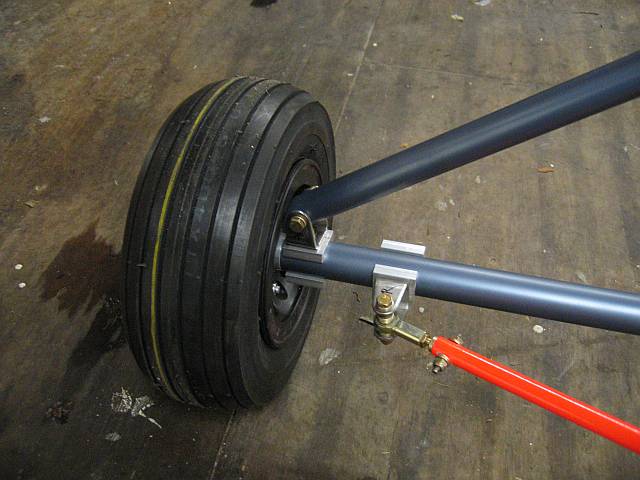
Have acquired the replacement socket-headed bolts for mounting the engine, and have also purchased aircraft-style tyres to replace the go-kart stuff originally supplied.
This morning I acquired longer 35mm bolts after discovering the 30mm units leave about 2mm less material threaded into the crankcase than the original studs. And this evening I discovered that the crankcase simply isn't threaded that deep anyway. Back to the 30mm units.
Swapped the tyres over...

And removed the studs from the engine and replaced them with bolts prior to putting it back on the aircraft, this time without using spacers, keeping the thrustline where it ought to be.
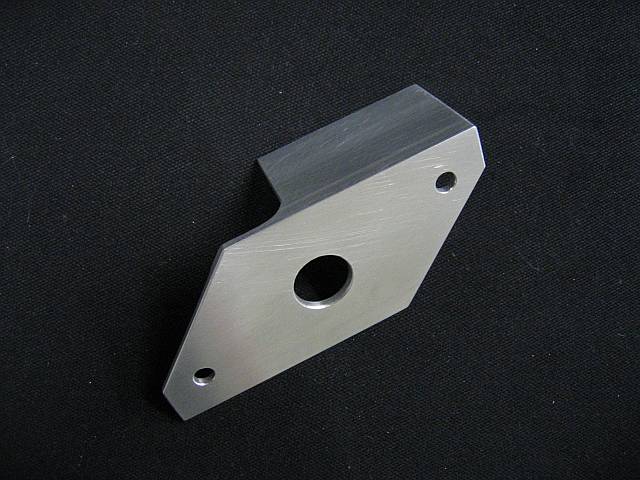
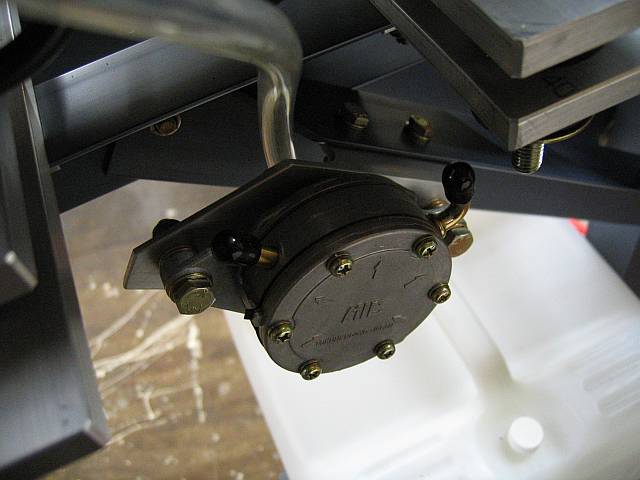
Spent an hour or so last night and this morning staring at the airframe and the fuel pump, contemplating how best to attach A to B. This evening I fabricated a bracket to attach the beast to one of the diagonal engine bearer supports.
Acquired eight feet of 1/4" fuel line to play with, finished mounting the pump, and connected up the impulse line. Need to get some hose clamps from somewhere.

Spent the afternoon experimenting with different exhaust configurations.
Put the exhaust mount on hold while I investigate various component prices. In the meantime, there's a long list of minor tasks to complete, one of which was to file the lower aft end of the control stick to stop it interfering with the upper walking beam. After sitting in the aircraft and experimenting with the stick's limits of travel, I decided to shorten the horizontal section of the stick. I kept one of the mounting holes and drilled a new one, effectively moving the stick aft by about two inches.

Discovered the tail section is/was due in at 2:30 this afternoon :)
![]()
Spent this evening investigating possible mounting positions for the instrument pod. Inconclusive, but I think I'm going to include an easily-visible analogue tachometer in the panel.

Have put a hold on the gentleman CNC-ing the instrument panel. It's going to be reworked to include an analogue tachometer, and I now plan to fabricate the panel myself.
Started on the mount for the pod itself, using 1" angle in a similar manner to the seat. This might be overkill, but with the instruments in it, it's a heavy piece of kit.
Temporarily positioned the pod to my satisfaction with an array of clamps. The final location is directly over the two bolts that hold the nose block in, and the pylon will consist of two lengths of 2" x 1.5" angle.

Continued work on the first half of the pylon. One of the edges has to be ground flush with the adjacent flat. Much noise.
Collected the tail & paid the GST, clearance and handling fees.


Finished the first half of the pylon, bar the drilling.

Spent yesterday on a learning curve, and today ordered four vibration isolators for the instrument pod. Also bought a circle cutter in anticipation of the instrument panel.
This evening I fabricated the second half of the pylon for the pod. In reality, the bearers will be further outboard than this, attached to the pylon via the isolators. The two halves of the pylon will be fastened together midway up with a couple of brackets to prevent any ricking.

Went on a tiki-tour today, and collected the vibration isolators, the metric nuts and a pile of AN-series hardware. All from different suppliers, urrgh. Fabricated the brackets to hold the two halves of the pylon together.
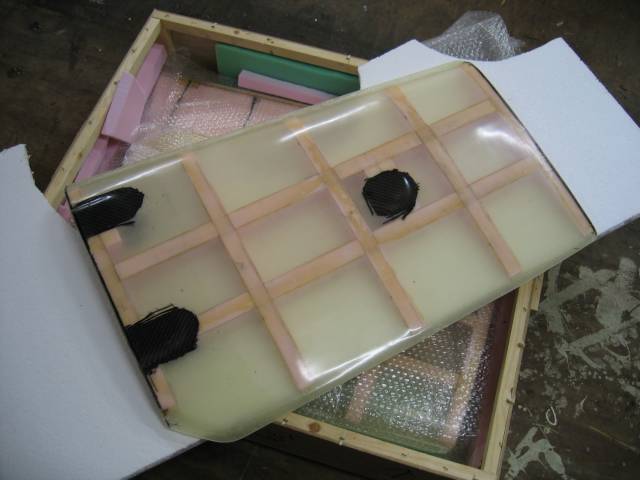
A highly enjoyable afternoon doing some hangar-flying round at a friend's with an Antares trike in bondage in a crate. This is one beautifully constructed aircraft, and I've now got some inspiration around what to use for the instrument panel; specifically, crinkle-finished black plastic.
Spent the last couple of evenings playing with the instrument pod mount. Final configuration, the two bearers are going to bolt direct to the pylon, and the pod will sit on the bearers on top of the vibration isolators. These will have to be returned for units with a longer threaded section. At 8mm there's no thread at all protuding beyond the nuts. A 1/16" plate will be used to reinforce the underside of the pod.
In the meantime, I've removed a lot of surplus material from the pylon.